


| P&W Service Center 18442 County Rd 731 Venus, FL 33960 |
Phone: 800-822-2180 (USA only) |
Fax: 941-360-2207 e-mail: sales@pwservice.com web: www.pwservice.com |
Hours: Weekdays 9:30AM - 4:30PM EST (Closed on major holidays) |
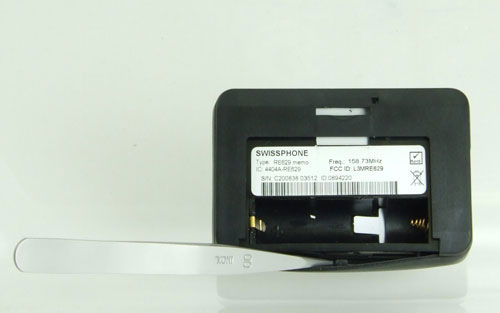
| The first step is to remove the band. Start on the battery side with a small tool such as a screwdriver. | |
 |
|
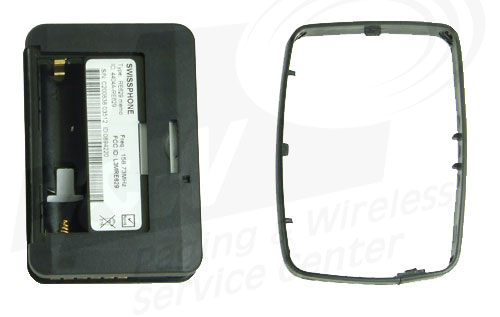
Work around the outside of the pager until the band is removed. |
|
 |
|
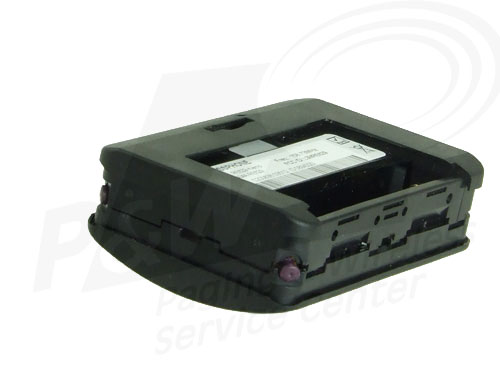
Crack the housing open as shown in the picture below. Insert/remove the buttons as needed. Avoid opening the housing any further than needed to insert the buttons. |
|
 |
|
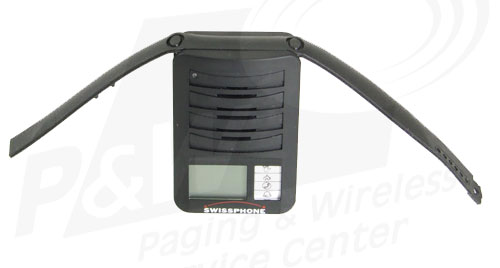
When putting the band back on, start at the top as shown below. Use a small tool to push the edge of the rubber band under the edge of the plastic housing. Slowly work your way around the housing, pushing the rubber under the edge of the plastic. There is no quick or easy way to do this, so take your time otherwise it will not fit correctly and you will need to start over. |
|
 |
|
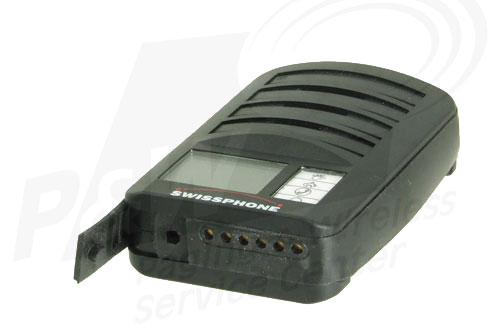
| After the band has been put on the pager should look like the picture below. The last step it to place a small drop of glue (superglue or rubber cement is preferred) on the rubber tab then insert the tab into the hole. | |
 |

Copyright © 1997-2024
Paging & Wireless Service Center. All rights reserved.
Legal Information
Last updated on
06/12/24.